
|
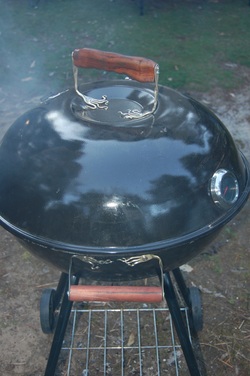
This unit started life as possibly the cheapest kettle charcoal cooker money can buy. It cost $35 and in total we spent another $15 turning it into The Hot Rod.
|
|
|
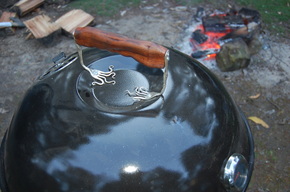
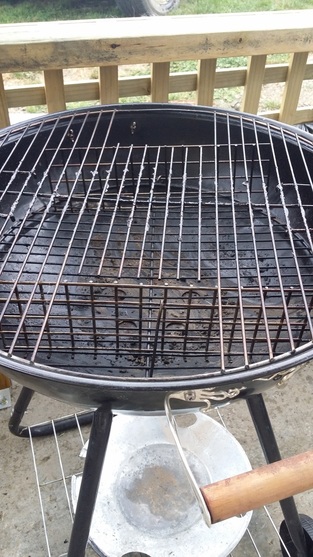
Design Part 1Firstly, you will note from the pictures above that we mounted a good analogue thermometer (email us for brand specifics) for ease of use.
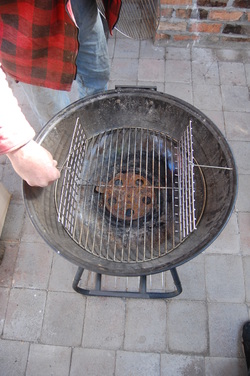
As we only really cook low and slow we needed to modify the unit for indirect heat. The side fins were made from some left over stainless steel mesh we had from another modification but it can be picked up ay any sheet metal site for scrap. We bought a 30cm square piece for $5 to give you an idea. We cut fins to size and bent the end prongs then hooked them around one run on the old coal grate. We then mounted a prop on either side so they independently sat vertical. NOTE - Leave enough room in the centre for a disposable aluminium foil tray and later fill this tray with water to keep your meet moist.
|
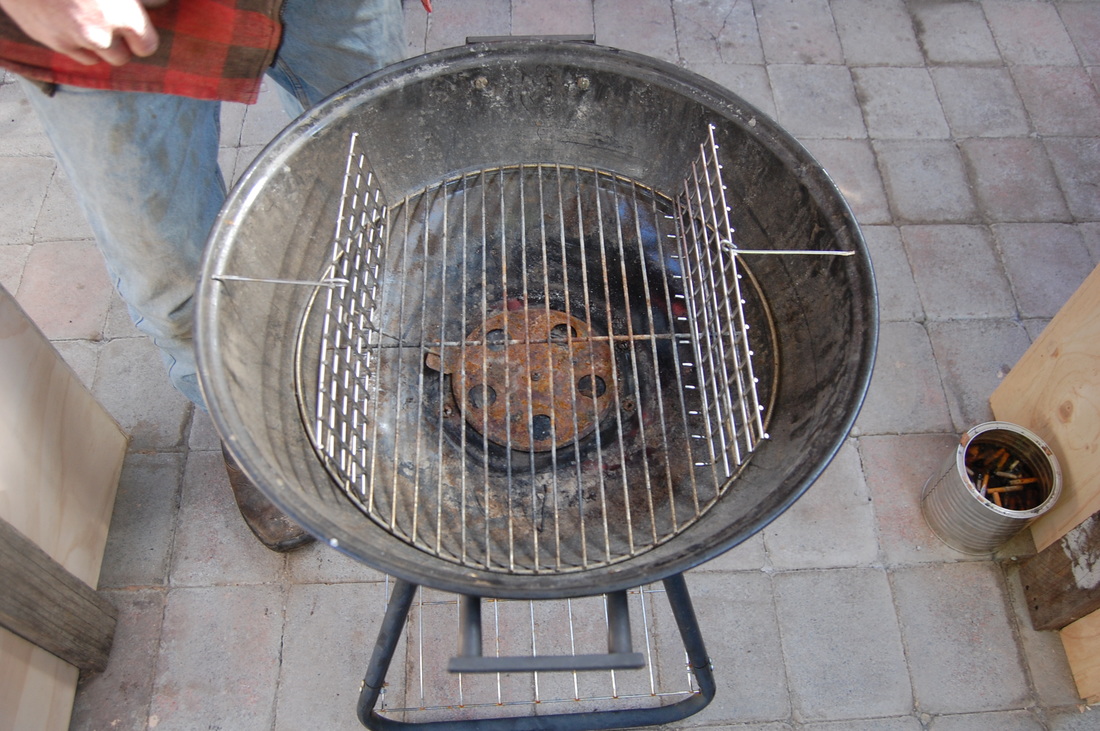

Design Part 2After using the cooker a few times with the initial mods we found we needed a simple way to add smoking wood to the coals. The simplest way we found to do this was to cut out a small section out of the grill grate. This gave us access to the partitioned side sections. It also helped with heat loss as it drastically cut down the time we needed the lid off to tend to the fire. Some other methods for indirect heat on units like these are to use for example, a champagne bucket in the centre of the kettle filling it with charcoal and then cooking around the outside of the grill grate or simply to employ the snake method with heat beads. Note - the champagne bucket method makes it harder to employ a water pan. The snake method also inhibits your ability to control the amount of smoking wood used, in general minimal smoking wood is added when using the snake method.
|
|
Conclusion
You may have noted that we clearly stated "You need to learn how to drive your pit"; Meaning even after you have made modifications to your unit you will still need to get a feel for how it is working i.e air flow etc. For example, these kettles run pretty hot so in reality you may only need to utilise one side of the partitioned fire section to get to your desired temperature. If you do this its important to have the dampener on the lid at the opposite side of your fire to encourage air flow. Other wise the air will enter the unit at the bottom go up straight past your fire and out the lid, making for a hotter fire, diminished charcoal life and incorrect smoke application.
The key here is indirect heat. The bottom section has two small side partitions which generate heat up and around the inside if the lid. The addition of the water pan give you a buffer inhibiting potential spikes and sustaining heat - basically it helps you moderate temperature whilst keeping the smoking environment moist. The top grill grate with sections cut out means you don't have to remove the whole grate should you need to access your fire. Please note you will have to swivel the lid at intervals to keep rotating the dampener - DO NOT have the dampener over either side fire as all this will do is cause uneven heat and burn out one side due to incorrect air flow.
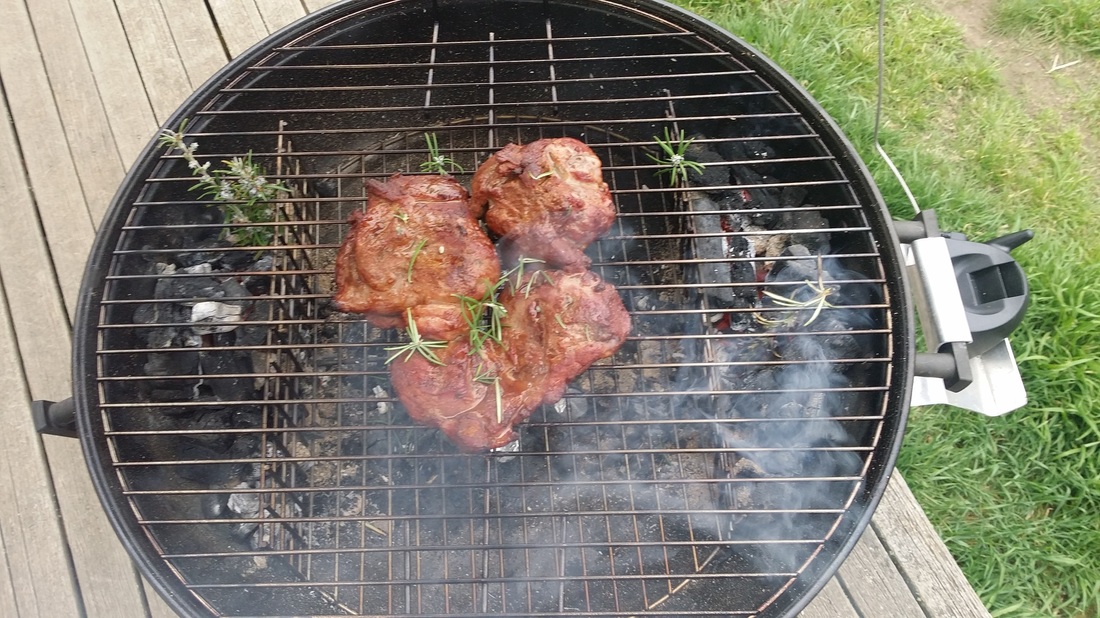
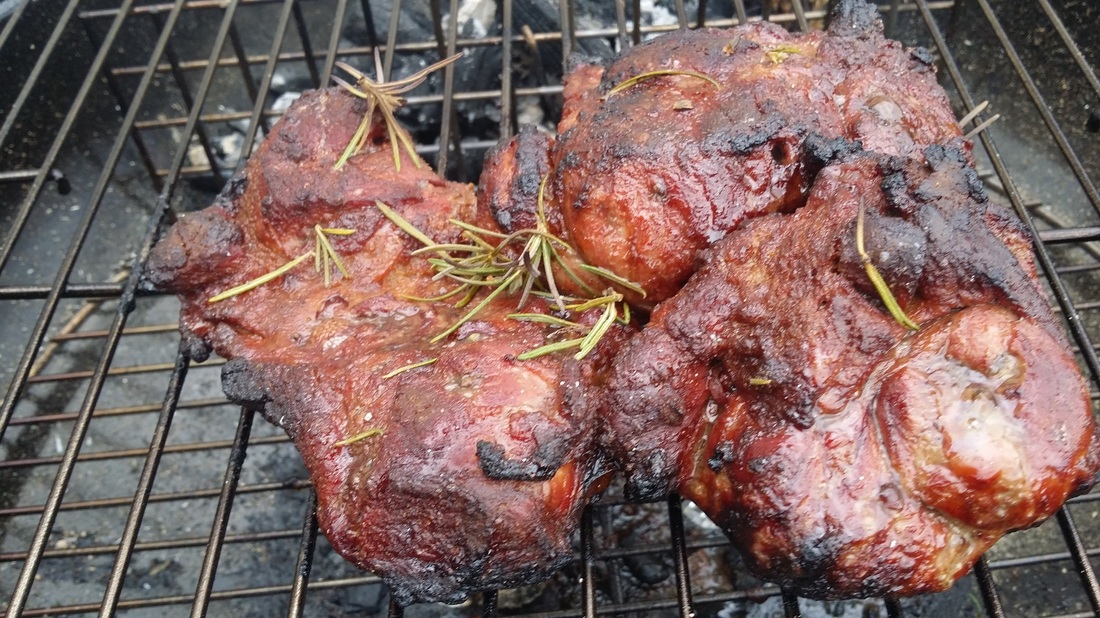
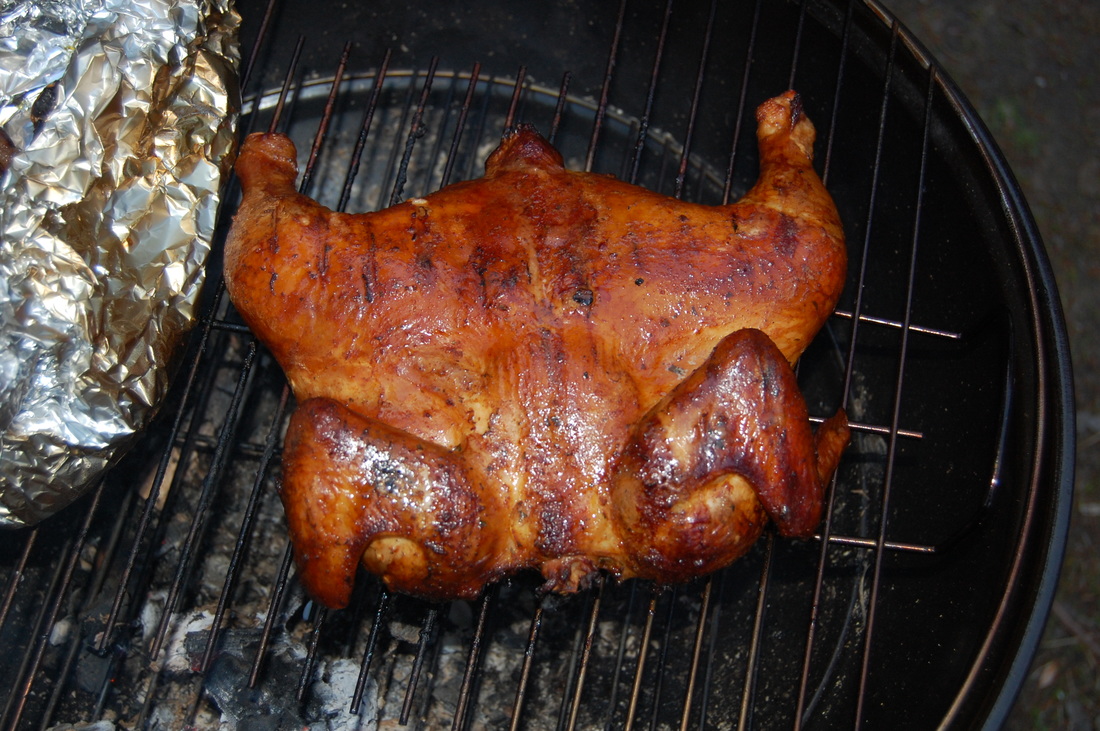
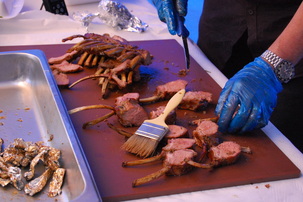
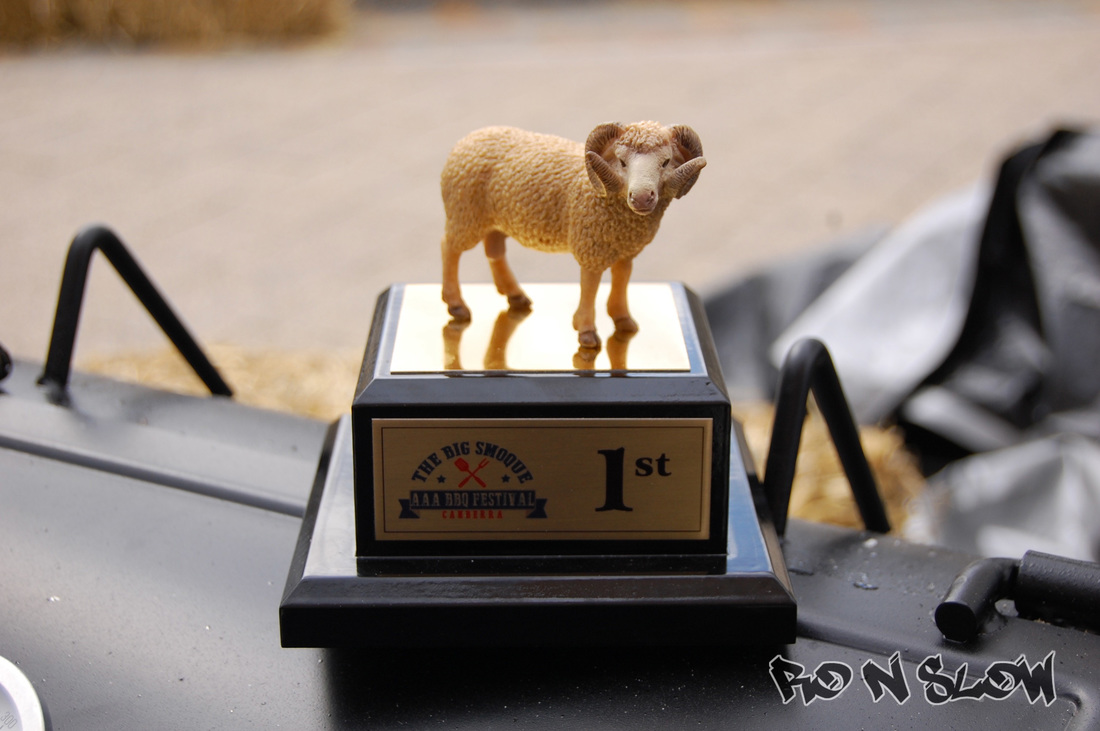
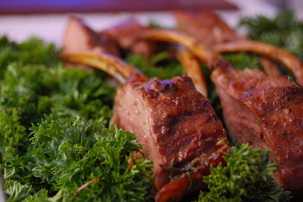
So I guess your thinking - Is it worth the time and effort? Maybe - Maybe not but the three pictures below are certainly good motivation!
The key here is indirect heat. The bottom section has two small side partitions which generate heat up and around the inside if the lid. The addition of the water pan give you a buffer inhibiting potential spikes and sustaining heat - basically it helps you moderate temperature whilst keeping the smoking environment moist. The top grill grate with sections cut out means you don't have to remove the whole grate should you need to access your fire. Please note you will have to swivel the lid at intervals to keep rotating the dampener - DO NOT have the dampener over either side fire as all this will do is cause uneven heat and burn out one side due to incorrect air flow.
So I guess your thinking - Is it worth the time and effort? Maybe - Maybe not but the three pictures below are certainly good motivation!
|
|
|
